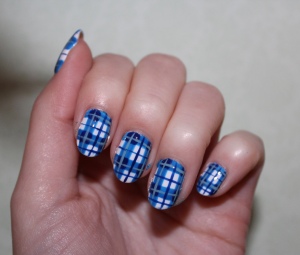
Start off by applying a base coat. I used Sally Hansen’s “Double Duty Base and Top Coat”. For this design you should pick three polishes of the same color in different shades. For example I used a light blue, a medium blue and a dark blue.
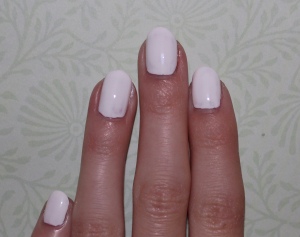
Then, apply a light colored base color. I used a white nail polish, Sinful Colors “Snow me White”.
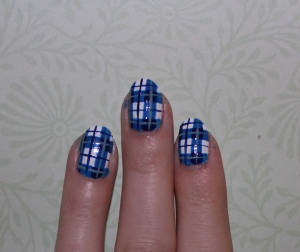
Next, paint two think lines going vertically down the nail, one slightly off center to the right and one all the way on the left. It is easier if you outline the thick lines with thin lines first using a striping brush and filling it in with a liner brush. I used Ruby Kisses “Schoolgirl Blue” (the medium blue).
Then, paint two thick horizontal lines, one between the middle and the top of the nail and the other at the bottom. I used the same striping and liner brush and the same nail polish.
Next, using the darkest shade, paint squares where the two lines overlap. I used a liner brush and Maybelline’s “Sapphire Siren”.
Then, using a thin striping brush and the lightest shade, paint four thin lines going down the center of the four thick lines. I used Wet n Wild’s “I Need a Refresh-Mint”.
Next, using the same thin striping brush and the darkest shade, paint three thin lines. Paint one lines going vertically down the area between the two thick lines and then two lines going horizontally between the two thick lines and one at the top. I used the same medium shade used for the squares created earlier.
Lastly, apply a top coat. I used Sally Hansen’s “Advanced Hard as Nails Strengthening Top Coat”.
Your plaid nails are finished!


November 9, 2015 at 7:29 pm
Wow you make plaid nails look so easy. Where do you get your nails stripers from?
LikeLike
November 9, 2015 at 8:11 pm
I’m glad I can! My striper is from this MASH set https://www.cultcosmetics.com/products/mash(r)-professional-15-piece-nail-art-brush-kit-set it comes with two and I made one thinner with nail clippers and that is the one I used for the thin lines
LikeLiked by 1 person
November 9, 2015 at 8:41 pm
Thank you for sharing girl! I’m on the hunt for good nail art supplies in a kit.
LikeLiked by 1 person