
Start off with a base coat. I used Essie’s “Grow Stronger” base coat.

Apply a base color of your choice, I used Essie’s “Fashion Playground”. (Sorry, I forgot to take a picture).
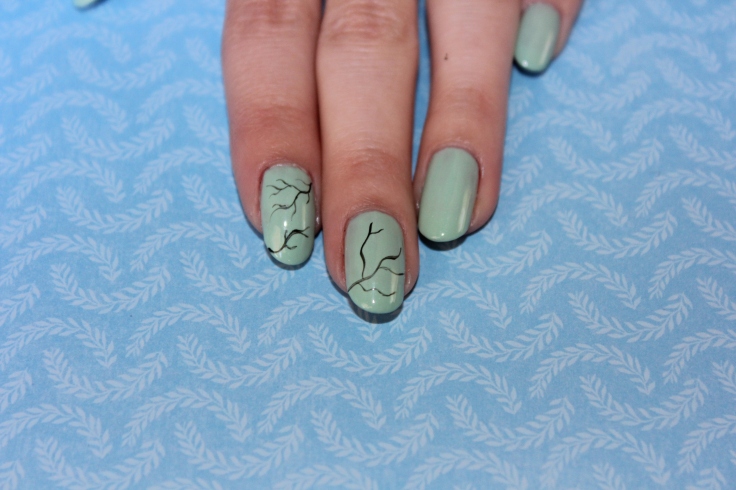
Using a short striping brush and a black or dark brown color paint one long squiggly line for the initial branch. Then, expand that branch by adding shorter lines coming out of it. I used Winstonia’s “Short” striping brush and Apple Barrel’s “Black” acrylic paint.


Add the cherry blossoms with a pink color and a small dotting tool by painting four or five small dots in a circular pattern to create a flower shape. I used a small dotting tool and Jenna Hipp’s “Rose Tart”.

Add a small white dot in the center of the flowers. I used the same dotting tool and Sally Hansen’s Hard as Nails Xtreme Wear “White On”.

I added some random small pink dots just to add more to the design.

Lastly, apply a top coat, I used Essie’s “Gel-Setter” top coat.
Your cherry blossom nails are finished!
Video Tutorial on YouTube:

April 24, 2016 at 11:38 pm
So beautiful and – thanks to your tutorial – so easy to do! I really should try cherry blossom nails!
LikeLiked by 1 person
April 24, 2016 at 11:39 pm
Thank you so much! I am so glad it is helpful 🙂 I would love to see it if you give it a try!
LikeLiked by 1 person