
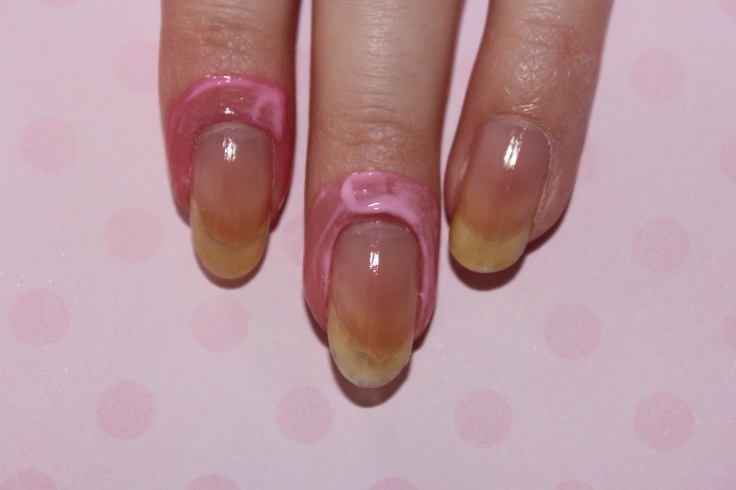
Start off with a base coat, I used Seche Clear’s “Crystal Clear Base Coat.”

Apply a base color of your choice, I used Sally Hansen’s Complete Salon Manicure in “Lavender Clouds.”

With a striper brush and red polish, create loops of string on the nails. In the end you want it to look as if the string was draped across the nails and connected. So if on one nail the line ends towards the tip of the nail, have the next line start towards the tip of the nail on the next one. I used Winstonia’s “Short” striper brush and Express’ “Naughty.” Start off by creating a curved line coming on from one side, then make an oval shape towards the tip of that and finish the curved line coming from the other side.


On one of the nails, create a heart that looks like it was made out of string. Do one half at a time and you want the middle pointy area to not be connected so it looks like string. This is basically just painting two very curved lines that intersect at the correct spots to make a heart shape.


Go back and fix any lines with a detail brush and the two colors used. I used Red Carpet’s “Detail Brush.”

Lastly, apply a top coat, I used Seche Vite’s “Dry Fast Top Coat.”
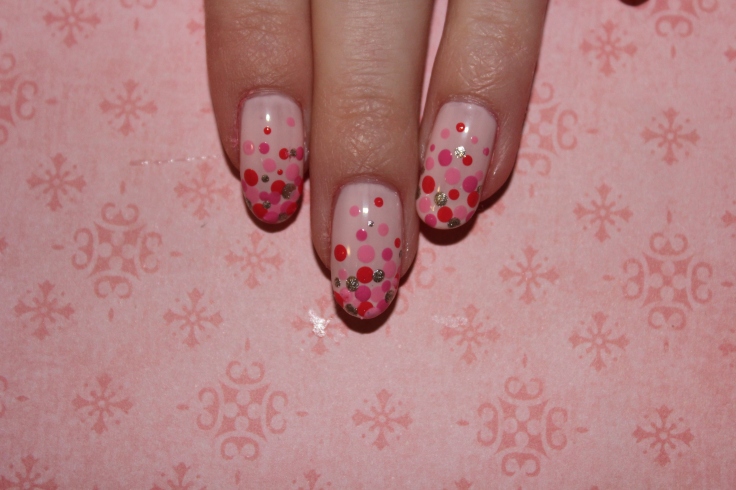
Your Heart String Nails are finished!
This was inspired by @cchannel_nail on instagram
Video Tutorial on YouTube:
Connect with me:
YouTube Channel: Isabel Nailed It
Instagram: @isabelnailedit
Facebook: Isabel Nailed It
Twitter: @isabelnailedit


Recent Comments